
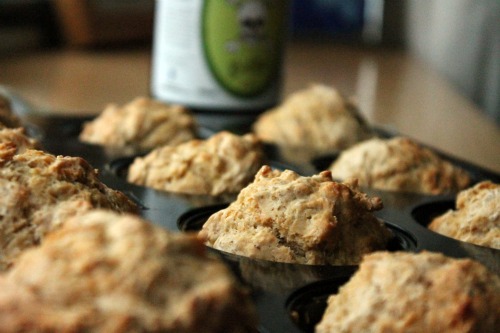
Cheddar and Beer Bread Rolls
Well, we are back from a lovely week in Egypt (barring the flight home in which 2 year old was a nightmare) and I'm itching to get back into the kitchen having been fed and watered by other people for the last 7 days. Just before I went away I was lucky enough to be sent some local Cornish ales from award winning Driftwood Spars Micro Brewery in St Agnes. Landlady Louise Treseder is passionate about real ales and tries to encourage women to enjoy beer as a natural product with interesting flavours - no encouragement needed from this end! Not content with just drinking the ales I set about making some beer bread rolls using the Badlands Bitter. The recipe I used was from Jac's blog Tinned Tomatoes , although I made a few tweeks. They turned out lovely and malty, perfect with my Sweet Potato, Carrot and Coconut Soup . print recipe Cheddar and Beer Bread Rolls by Beth Sachs February-23-2012 Lovely with soup Ingredients 3 cups Plain Flour 1 TBSP...
